|
Those Pesky Broadway Limited H-2a Hoppers
|
|
As I've already said, they are a fairly nice model. They aren't Kadee quality although they
are close to Kadee price. But they are better than the crude Eastern Car Works model, previously
the only choice available for an H-2 class hopper car, and are far less work to whip into shape. Which
is good, because they do need to be whipped into shape, and I need a sizeable fleet of them.
|

|
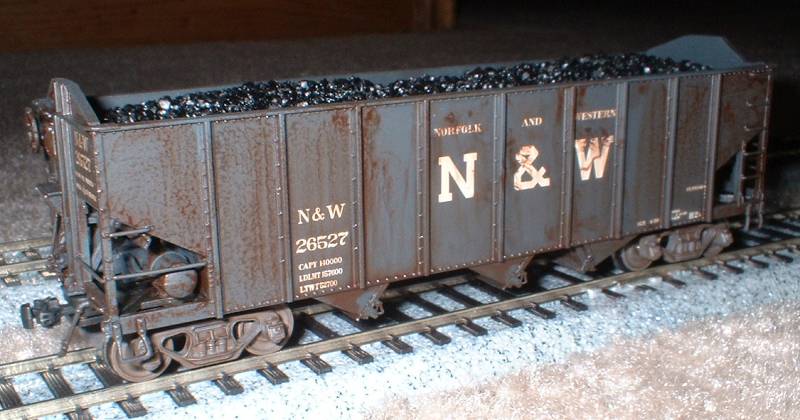
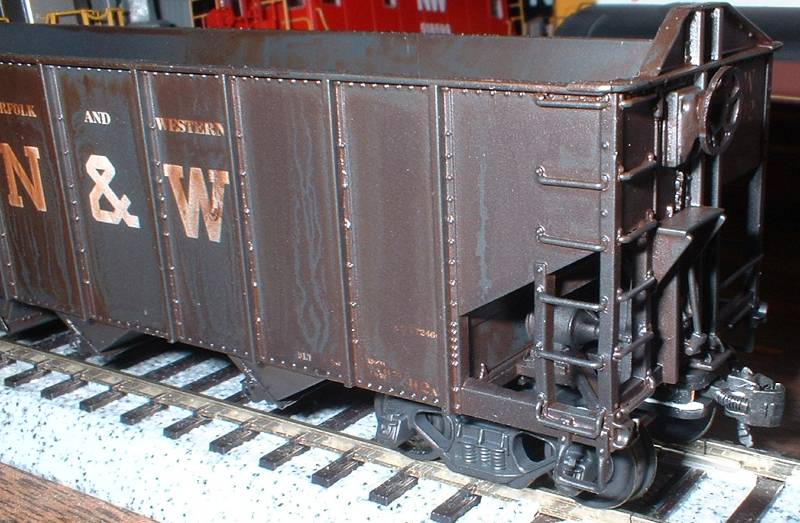
This was the first car, weathered with oils, and then hit arbitrarily with spray can dullcoat. While
the spray can is always a bad idea, it did produce and interesting mottling of the rust here. The
digital camera, I must emphasise, does a TERRIBLE job of showing weathering. The weathered piece may
look quite nice under normal viewing but the close range, cheesy built-in flash of the digital manages to illuminate
the base color in full brilliance, and make the weathering look like a sneeze floating on top of it.
|

|
I like using burnt umber for dark rust on black, but still have a time getting it to flow. I use real
turpentine as the wash, which works well on most factory paint jobs because it doesn't make a dent in
what most of this Chinese stuff is painted with. It doesn't work quite as well on Scalecoat... ask how
I know.
|

|
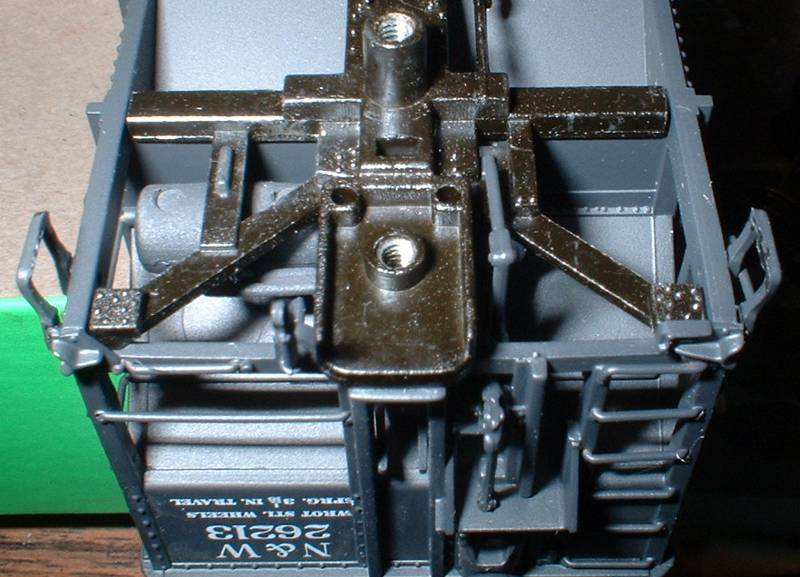
The problem. Broadway Limited decided to equip these $25 cars with 15 cent McHenry couplers. Ok,
they are coil spring McHenrys which at least work for a little while. But they have the slender shanks
which make them saggy and mushy. Rather than use a standard coupler box, BLI used a shallow box designed
for the McHenry only, and just in case somebody got one up on the bench, they added these inside nubs to
prevent installation of a Kadee copper spring plate.
|
|
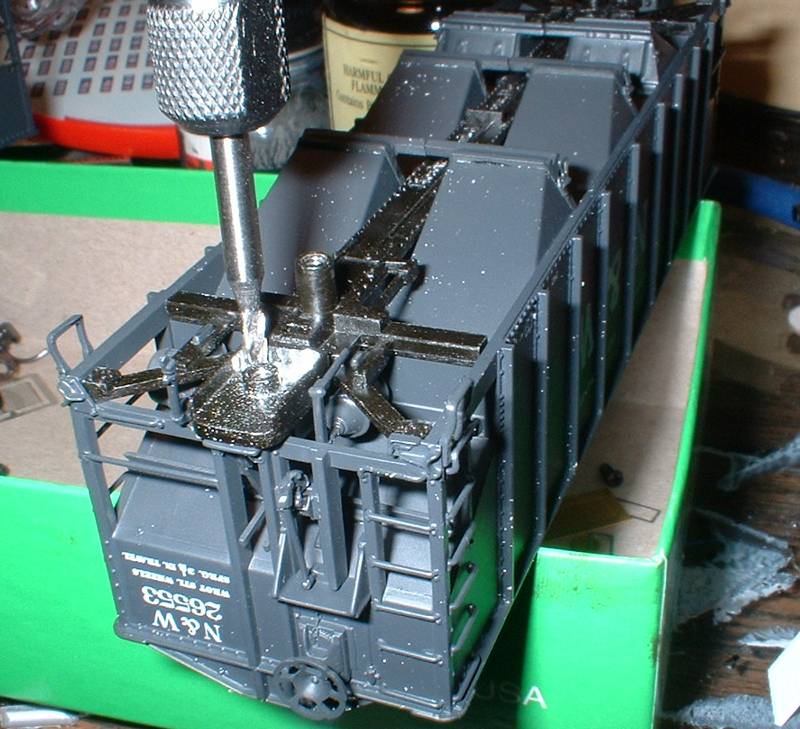
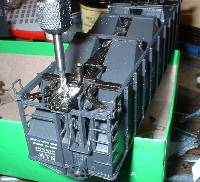
No way to just trim these nubs off - the frame, including the coupler pockets, is metal. So out comes the
Dremel and this small diameter high speed cutter. This thing is cool because at even low (by Dremel standards) RPM
and therefore minimal eardrum damage, it will cut through about anything in any direction. Bzzzing, zap... bye
bye stupid nubs.
|

|
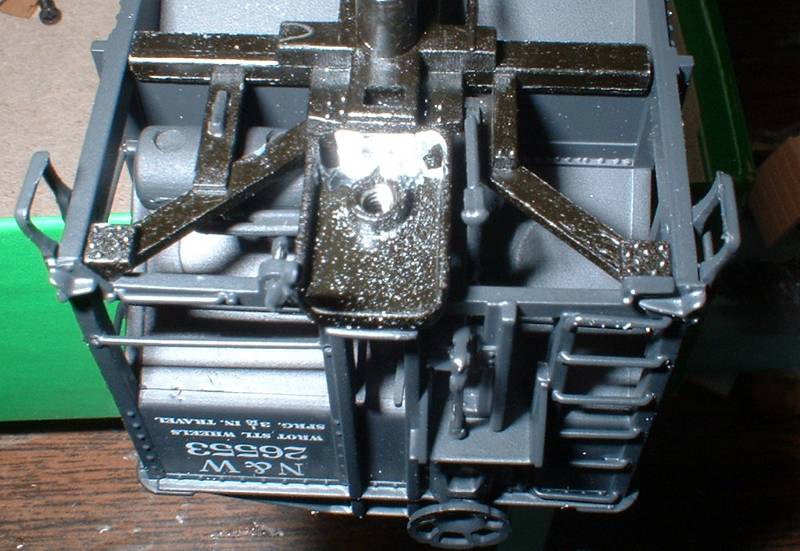
End result is not pretty, but when manufacturers' arrogance forces me to do something stupid, I don't do pretty.
Since this is not a visual part of the car... hack works just fine.
|

|
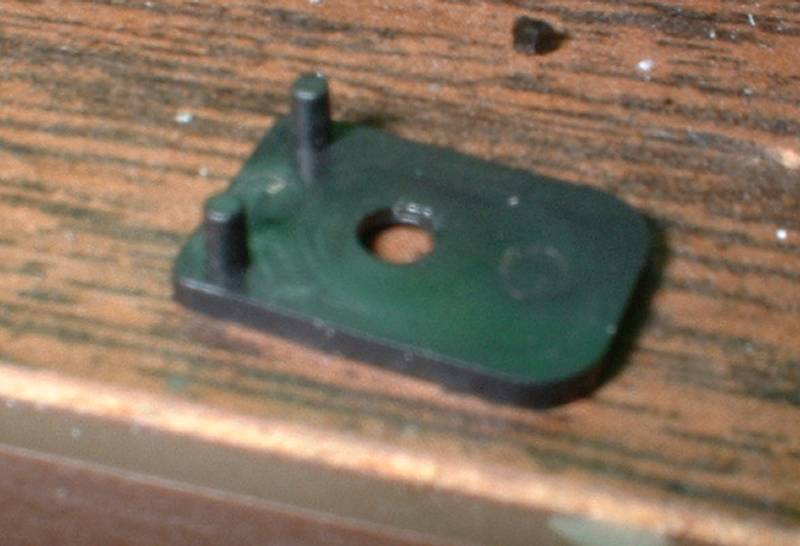
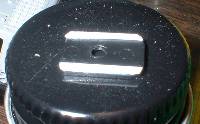
Here's the plastic cover for the coupler box, with the plastic pins which engaged the cast nubs. These are
an easy snip with sprue nippers
|
|
Then I add a couple of .010" or so styrene shims to the edges of the cover, which gives back a little depth
so the Kadee #58 and spring will fit and pivot.
|

|
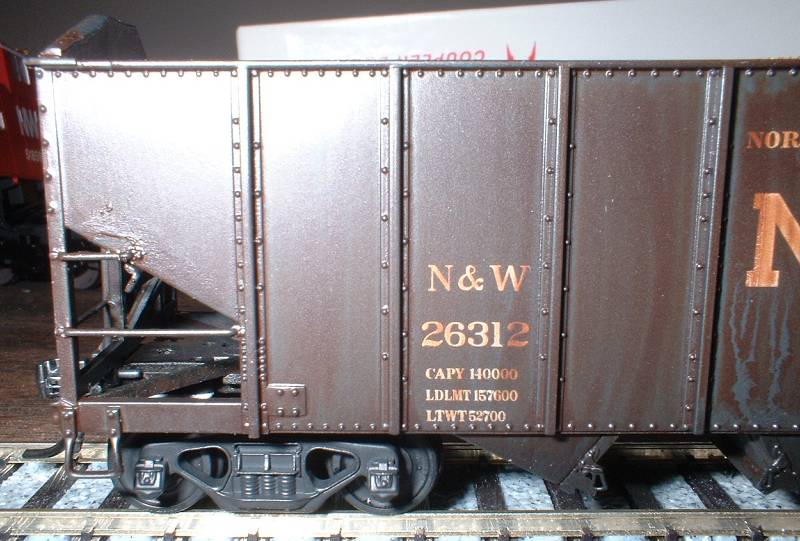
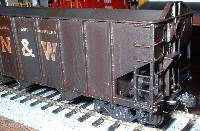
This car was weathered also using burnt umber oil and turpentine, and then oversprayed with a mist of
Pollyscale steam power black, the only color that seemed would appoximate coal dust. Kind of hard to
weather a black car with black, but that's what hoppers carry - black stuff.
|
|
This car (and the 5 others I finished today) were oversprayed with a 50-50 dull/glosscoat mix, which is much
nicer than spray can dullcoat. I need to read this every time I get lazy... the spraycan is about useful
as a quick adhesive, or to stink up the upstairs.
|
|
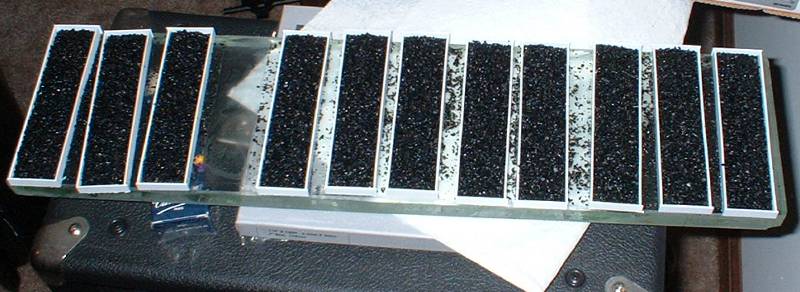
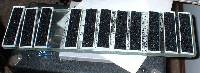
Here's how I make coal loads. I don't know anybody else who does it this way. A lot of people
suggested taking the plastic loads that came with the BLI hoppers, and just gluing one layer
of coal over the top. But my method produces a load that acts as a weight - a loaded car
weighs more than an empty one, imagine that... and no two are alike. It's a lot of work
I'll admit, but not more than I'm willing to do. As you can see, maybe, I just make styrene
trays, the bottom is a clean but slightly loose fit into the car it's designed to fit. Then pour
in Life-Like coal, shape, and then soak it all with a 50-50 Elmers/water mix, wettened with
a capful of Kodak Photo-Flo. 3 days layer, I peel the sides off (which is harder than it
sounds) and I've got coal loads. Sometimes I have to shim them up underneath to get the
right height. I like these better than loose coal (no spills, less weight), or molded coal
(all look alike), or foam coal (always looks like foam to me), or styrene coal (flat and fake looking).
|

|
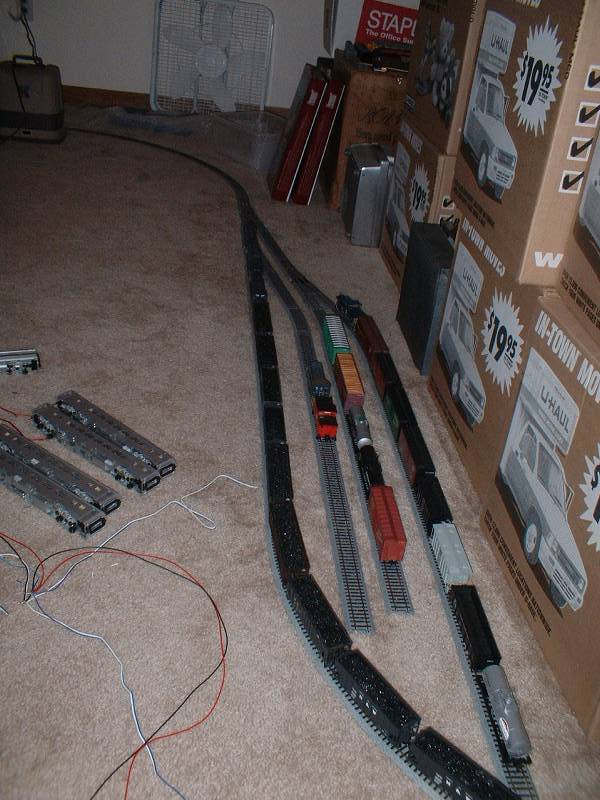
My pile of hoppers is growing, and getting some much needed diversity. Left to right, BLI H-2a
with early style lettering (still in OOB condition), Stewart PRR H-37, Bowser N&W H-11b,
Stewart PRR/PC H-39, and another H-2a. Also in the mix are some Stewart NYC/AAR 70 tonners.
|
|
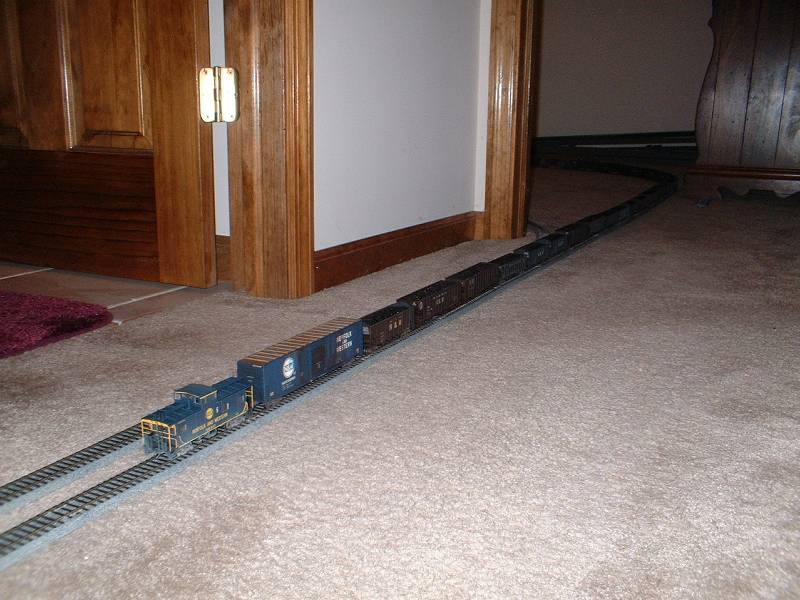
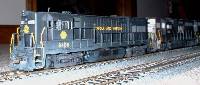
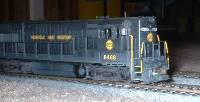
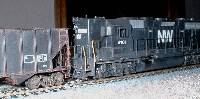
Railfanning on the Guestroom & Loft Loop Railway has it's advantages. Like catching the
short-life N&W U30B in action. And if you don't get a good shot...
|
|
...a minute later you can catch it going the other way!
|

|
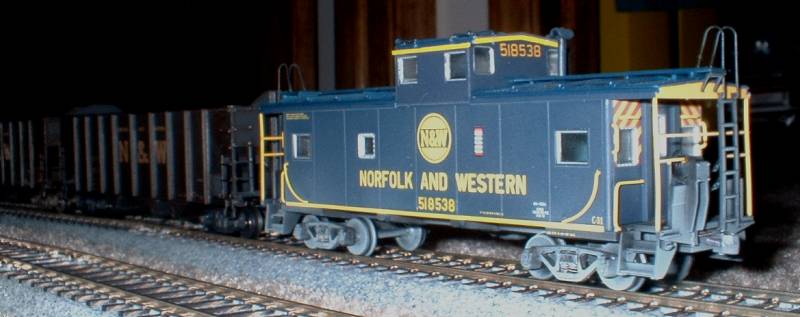
C-31 caboose brings up the rear, behind a freshly finished H-2a.
|
|
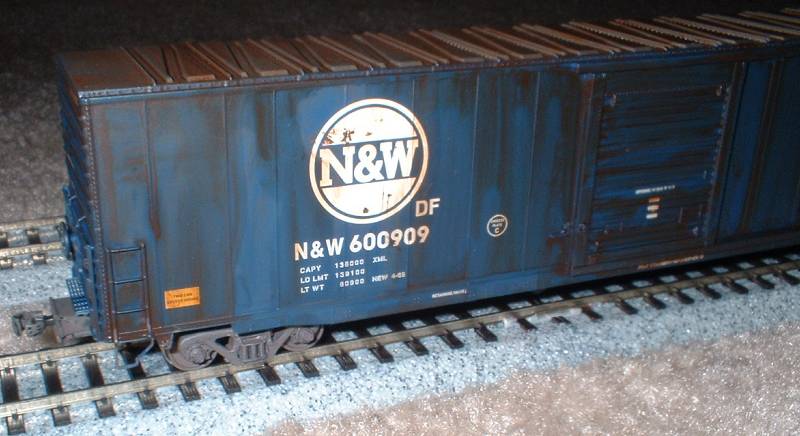
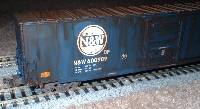
Just some random photos to round things out. This is an Atlas 60' PS-1 box car
factory painted in the hamburger blue scheme. For some reason N&W used white
heralds and lettering on box cars, but yellow on locos and cabeese. More fun
weathering with oils.
|
|
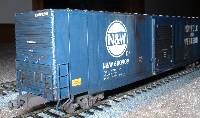
Other side I based on a photo from the Fallen Flags site that showed one of these
cars with a streaked and faded logo. No alcohol, dullcoat, or acrylics involved
here... the primary culprit? 400 grit sandpaper.
|
|
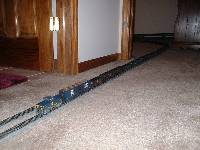
Looking down on a train passing the town of Bath.
|
|
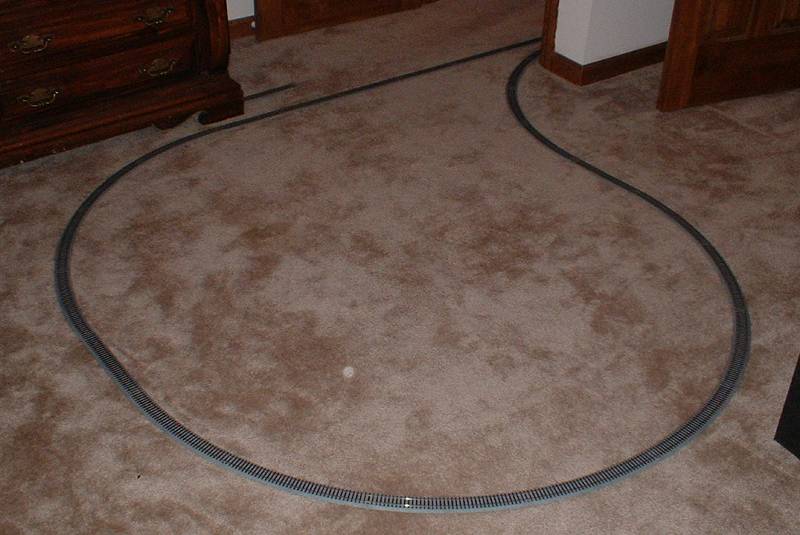
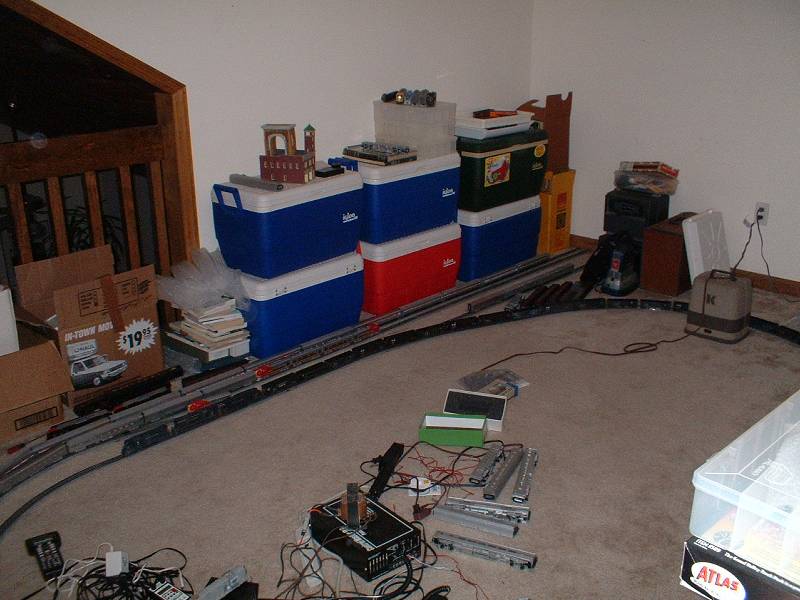
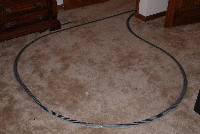
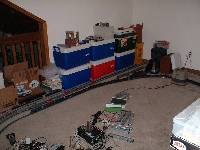
The Guestroom loop. Which may have to be temporarily relocated if any
actual guests arrive.
|
|
The loft loop, recognizable by the huge cigar silos, and passenger terminal.
|

|
Osborn-On-McSwain, the only freight yard, with a resident SW9.
|
|
And the G&LLRR is perfect for crappy railfan shots like this.... totally prototyical!
|
| Back to My Models |