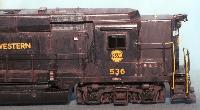
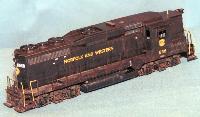
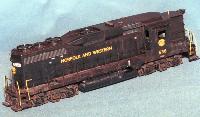
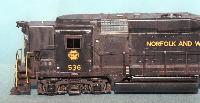
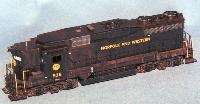
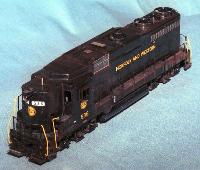
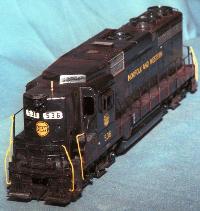
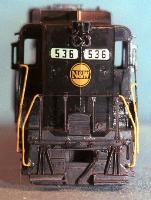
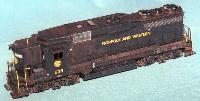
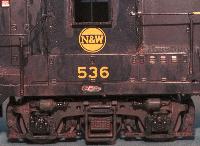
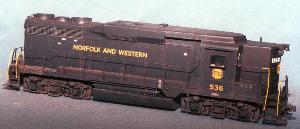
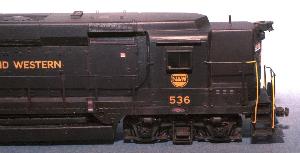
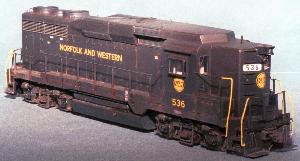
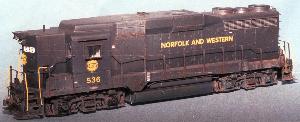
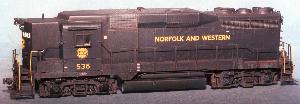
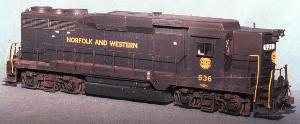
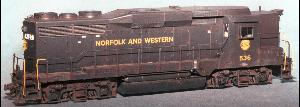
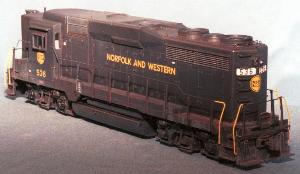
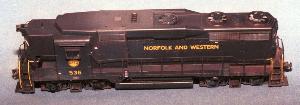
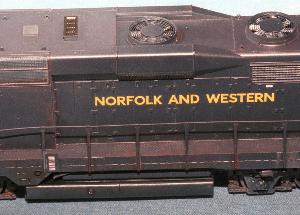
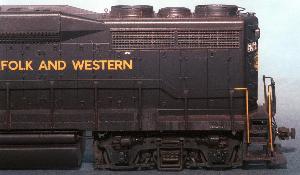
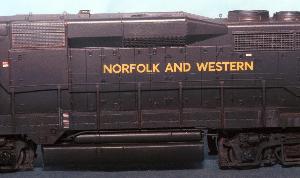
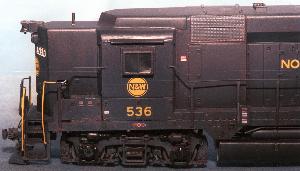
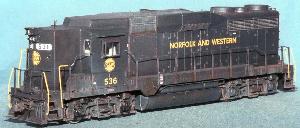
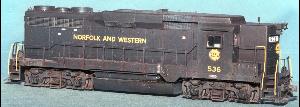
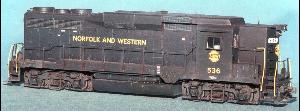
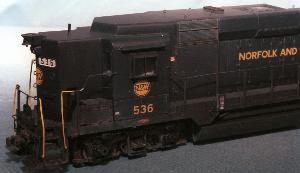
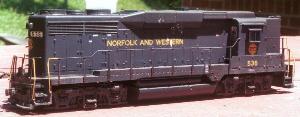
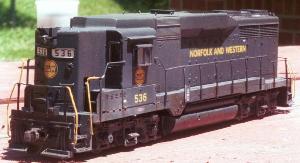
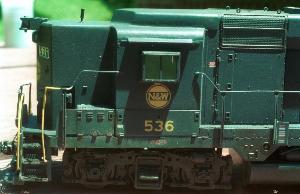
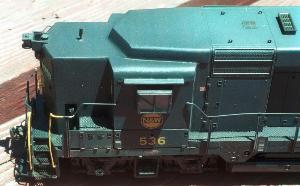
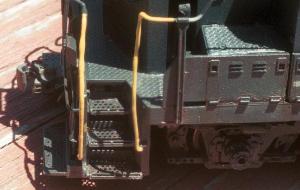
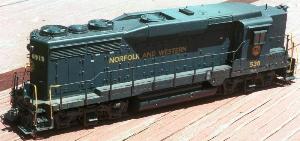
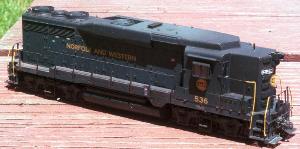
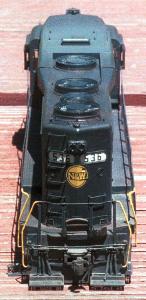
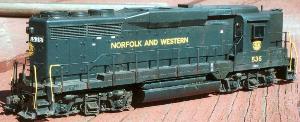
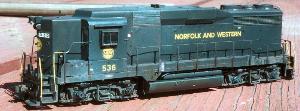
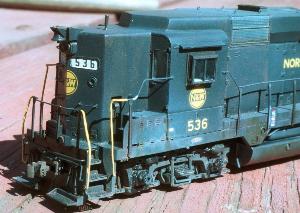
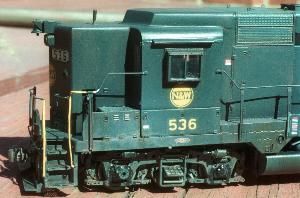
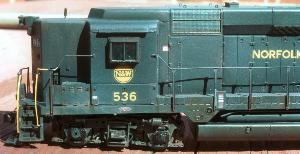
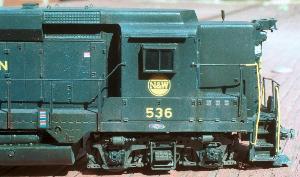
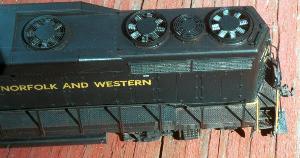
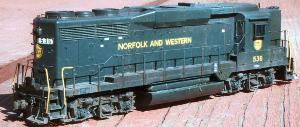
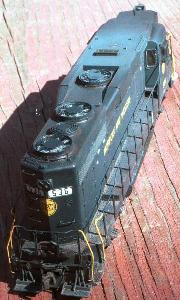
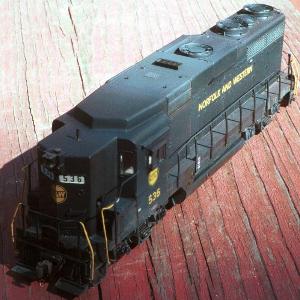
What a difference a real camera makes. While I'm definately out of practice
using the 35mm gear, the below photos are the result of a very informal rapid fire shoot I
did using my N90, SB25 flash, and 105 micro lens. All of the shots were taken in aperture
priority mode at f32, f22, f16, or f11. All were shot with a pair of floods and kicked with the
SB25 flash as a filler. Every single shot of the 24 was usable, here are the 18 that are
relevant (the others were mostly duplicate angles, not quite as sharp). This is what I can
get out of my real camera without hardly even trying. The digital Coolscan could do this
well with care and practice, but the usable shot ratio would be one in 10. And no way
could I have gotten the even, balanced illumination you see here using the Coolscan's built-in flash... or even just relying
on the floods. Oh yeah, these shots are all handheld. Didn't feel like dragging out the
tripod. The model is not finished... needs paint on the antenna, needs horn(s), couplers,
and some final weathering to smooth out the finish. All of the weathering you see is some
type of wash, mostly PollyScale grime, roof brown, concrete, oily black, and Rustall's
iron oxide wash. The base coat is Scalecoat II black on bare styrene (no primer). The finished
model should have the weathering blended a bit better, and a semi-gloss finish overall to
seal the decal film. It will also have cab glass, lights (maybe), and a cab interior if and
when I can figure out the orientation of a dual-control GP30's cab components.
Further notes on the photos: Film used was Fujicolor 200, available cheap at Walgreens. It
has long been my favorite color negative film, with the right balance of grain, speed, and
contrast for a variety of shooting. I don't like 100 speed color neg film, the colors are
too saturated and too much detail lost. Processed at Shitz Camera, still one of the worst
commercial labs... the prints were total crap but the negatives came out ok. The prints seemed
to be calibrated to bring out the pattern in the blue linen backdrop, rather than the details on
the obvious subject. At least they didn't crop them all off-center like the last batch. Oh
well, one hour photo on a Saturday, what can you expect. Anyway, I scanned the
negatives directly on a Nikon LS-2000. All of the images were cropped and resized to 1/2 or
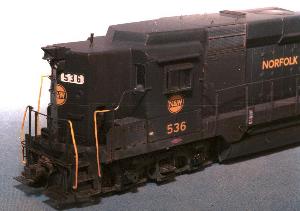
2/3 of their original size using ThumbsPlus. The very last image on the bottom right, the close up of the
right side of the cab and truck, is cropped but left full size so you can see the true
resolution.
I will do a more formal, optimized shoot of the completed model when I put the finishing
touches on it. I will probably switch to the 55 micro (my all time favorite model lens),
and use my F2 body, tripod, and shoot in full sun assuming I get any more of it this month.
You Southern California guys have no monopoly on June Swoon... today, June 9, 2001, was
the first day of the month here in Cincinnati that it was not 95% overcast or better. Don't
pay any attention to all the whining, it's totally normal and it happens every year, but
the way everybody bitches you'd think it was unusual.
Click on any photo for the full-size image
 |
|
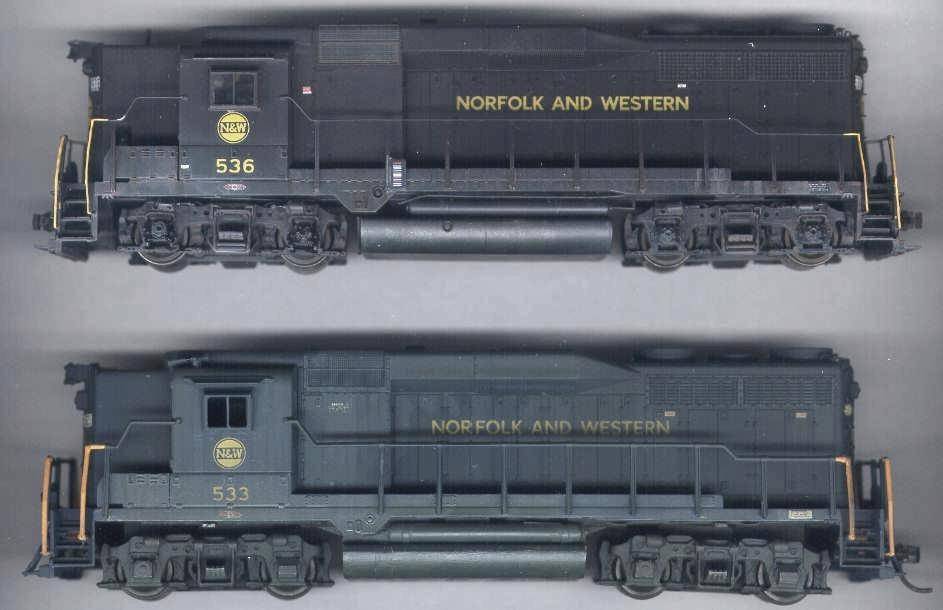
Next, here is a comparison between the 536 in it's near-finished state, and the last N&W GP30
I built, the 533 which was completed in the summer of 1979. These were scanned on my flatbed
scanner so there is some definate color distortion... however the 536 doesn't have a drop
of blue on it anywhere! Welcome to the N&W Hamburger illusion. But comparing these two
models, one of them made literally half a life ago, it's amazing how far things
have come, yet also amazing how accurate the old Lionel shell was, and it was definately
possible to make a decent model with it. The most obvious shortcomings of the 533 are its
innacuraces: The Brow Mistake, The Fan Mistake, blue instead of black, phase II instead of phase
I. But if you overlook those things -all of which I was virtually ignorant of at the time (although
I may have noticed the extended cab and decided not to mess with it), the most glaring
faults are the grossly oversize handrails and the old metal Athearn Blombergs. The two
models don't look all that different at any kind of distance, yet there are virtually no
parts of them whatsoever in common. The only components these models have in common are the Detail
Associates drop steps and winterized windows and the Microscale #87-22 decals. Everything else,
even the bell, even the Kadee couplers, are different. A lot has happened in 22 years! But
one thing that remains is my infatuation with the GP30. I can't believe it took me this long,
but with a stack of phase I Proto 2000 undecs (two already stripped), I will be doing more. BTW,
the 536 is not based on a P2K phase I but a phase II... I started it nearly two years ago,
when the phase I had not been announced and I wasn't sure they would ever get to it.
|
Now...the finished (well almost) model... shot with a tripod. The final finish coat has been applied
but the model still needs real windshield wipers and a horn, which I'll eventually figure
out. Again this was shot with the N90, SB25 flash in aperture priority mode, mostly at F32
with (2) crosswise 3200K floods and the flash in TTL mode. The first twelve shots (top to bottom)
were taken with the AF 60mm micro lens. It's easy to see why I shy away from this lens
when shooting models with a flash. By the time I get close enough to the model to fill up the
frame, the lens is partly obscuring the flash, hence the dark bottom you see in some of
these shots. The next six shots are taken with the 105. It allows more magnification at
a greater distance and does well with the flash, although some distortion is apparent especially
in the angled shots. The next four shots are back to the 60mm again, with the GP30 mated up
with my blue SD40 #1609, so you can see the huge difference between blue and black when
blasted with floods and a flash - the difference under normal incandescent lighting to the naked
eye is not near as drastic. The blue SD40 is actually quite respectable, not quite the
glowing blue you see here. I'd have to tone down the color saturation somewhat to make it
look more reasonable. And the last two shots I already forgot, but I think those were both
done with the 60 up very close, to the point the flash is majorly obscured. The first of the last
two close-ups is straight up, the second one I have tweaked with ThumbsPlus to increase
the brightness - and there is detail there to bring out since color neg film actually
has tremendous latitude. Just that my LS-2000 scans everything "straight" and I have to make
adjustments after the fact, which is much easier than adjusting on the scanner itself. Some of
these shots have been resized and cropped, others have just been cropped a bit and left
full size (the ones that are pushing 200K or more). I think those are particularly cool so
I left them at full rez. You guys with DSL and cable modems won't even notice. And this is the
entire 24-exposure roll of film, I realize some shots are better than others and some are
redundant angles but for this purpose I decided not to hide anything... I am not proud of
my mistakes but I'm not embarrased by them either, so the purpose being to
illustrate not only the model but camera technique, I scanned every shot. Notice the horizontal
scratches on some of the frames, courtesy of Ritz Camera's lab... but they didn't charge me to run the roll through
the machine since I didn't want prints made. Probably can't count on free film dunking in
the future, but in this case it was decent of the guy to do it for nothing.
Updated 06/19/2001: Last in the series... out in the sun, with the trusty 55/3.5 micro lens and the trusty manual F3.
The first eleven shots (left to right, top to bottom) were taken in mid-afternoon (2:30 pm or so) sun
throwing some nice downward and prototypical shadows. These shots were on Fuji 200 color neg film. The
rest of the shots in this group are taken in later evening sun where it is direct on the loco, and on Fuji 100
color neg film. I can't see any difference in resolution between the 100 and 200 film, and I doubt if the LS-2000 has
enough resolution to make the difference apparent anyway. Unfortunately the lower sun position and completely
different illumination makes it impossible to compare the two films head to head, color wise or resolution wise.
I really like the coloring in the first four shots. The combination of the overhead lighting and the 200 film make the
black (yes, it's still the same GP30, and still has no blue on it anywhere) look
purple
.... This is exactly
how the prototype GP30's looked (and photographed on Kodachrome 64) back in the summer of '74. I have to say, I
am very pleased with this effect, especially since it photographs that way in natural sunlight with no filter
tricks and nothing done to blue or purple the paint. Way cool. Note the sinking sun darkened the nose in one shot,
I was quickly losing space on my rotten old picnic table.
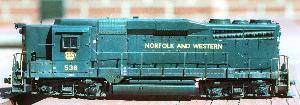 |
My last little experiment was a depth-of-field study. Most of you who have studied photography
have probably seen examples in books or articles showing the effects of various lens stops on depth
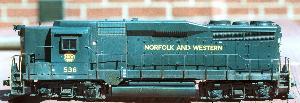
of field. But who has tried it with a model? Take a look at this shot at f8 on my 55/3.5 micro lens.
Notice how blurry the bricks are on the wall in the background. f8 is adequate to render the GP30
fairly sharp overall in a broadside view even relatively close to the lens (about 24"). Click the
small image to the left to see the full size version. This is not so much a study of the bricks but
how the model subject itself is impacted as the lens is stopped down further.
|
 |
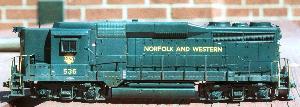
Now we stop down further to f11. Notice the bricks slightly sharper. The bricks are about 6 feet
behind the GP30. A macro lens usually stops down to f32,
which will give the greatest depth of field, but at the focus point is it as sharp as it would be
at a larger opening? And how sharp can those bricks get, well behind the focal point? Let's find out!
|
 |
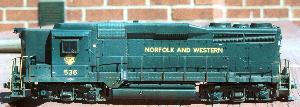
At f16 the bricks are sharper still. This is as far down as many lenses go. I am compensating
for the lens stop change by decreasing the shutter speed one stop to match, so the overall exposure
is the same for each of these shots. The f16 may be the best overall compromise, at least in this
situation where the model is being photographed broadside and the DOF is adequate to keep the model
entirely in focus.
|
 |
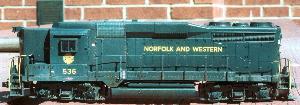
At f22, we are at the limit of most non-macro lenses. Macro lenses usually have the ability to focus
more closely than a standard lens, and also tend to have just one more f-stop than a standard lens. At f22, some
diffusion is beginning to show - look at the "NORFOLK AND WESTERN" lettering compared to f16. There is also
a "most sharp" aperture setting for every lens, and it's not usually the minimum or maximum but somewhere
near the middle. I'd say the 55/3.5 micro maxes out on sharpness between f11 and f16 - do you agree?
|
 |
Now we are as far as we can go, at f32. The bricks are as sharp as they are going to get,
which isn't very... but look at the diffusion on the side lettering. One reason lens manufacturers don't go any smaller than f32 is
because at this point the diffusion effect of the small aperture begins to reduce the sharpness of the
entire image, which you can see here progressively. Pinhole apertures as small as f256 have been fitted
to conventional lenses, or made into lenses themselves. They give extreme depth of field, but are very
poor on sharpness. f32 will produce adequate sharpness in much of the image without diffusing to the point
of spoiling the image, but as you can see it is not always the best choice to shoot at minimum aperture if the
extra DOF is not needed.
|
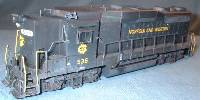 |
This is what the GP30 looks like after replacing the fans with Cannon's new 48" spirals, and
the drive with a Kato GP35 drive modified to fit under the P2K shell.
|
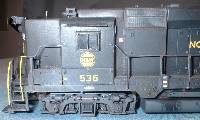 |
Kato's trucks aren't quite as nice as the Athearn Blombergs, but the Blombergs salvaged from the
Proto 2000 drive you see above in the other photos will be used on the 2909
|
 |
Modifications to the front end of the Kato frame to make the P2K shell fit cleanly. More too it
than meets the eye.
|
 |
Mods to the middle and back end. Motor is in place, but driveshafts and worms are not. Decoder
has not yet been installed. The original lighting and wiring is still in the GP30 shell and will be
used again, to connect up to the new decoder.
|
