Click on any photo for the full-size image
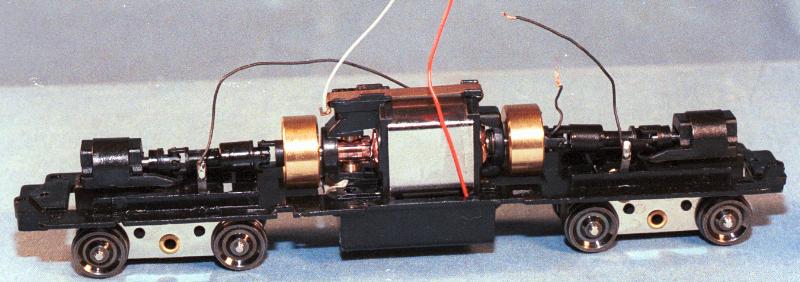 |
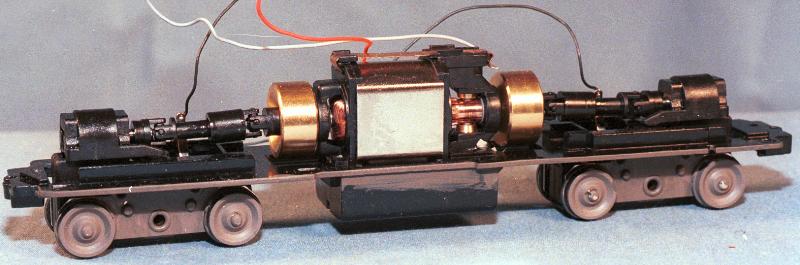
Starting out I thought I'd show you the GP30's drive again, this time relieved of it's sideframes which will be replaced, and the giant weight, which will need to be modified. You know, without the big hunk of zinc and the wheels bare this drive almost looks like.... |
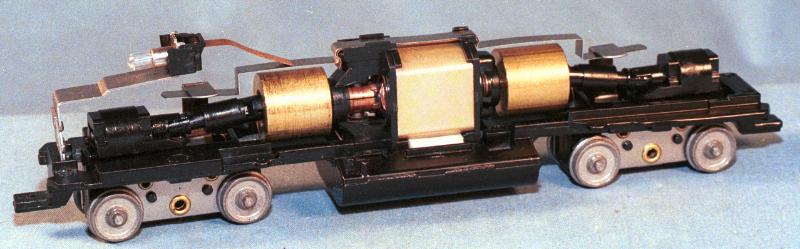 |
....this bone stock Athearn GP38-2 drive. You don't suppose this is just coincidence do you? Nahhhhh! Irv Athearn's legacy continues to live on, made in China. I wonder how many parts besides the sideframes are interchangeable? |
 |
Back to the body shell. It's really difficult to take photos that show a sanding and fitting procedure. It's one of those things that just takes practice, trial and error. I have boxes and boxes of errors. Now at this point I've already made one error, and I almost tossed the nose in the junkbox but I really didn't find out for sure until it was glued in place. I will massage it a bit later on. |
 |
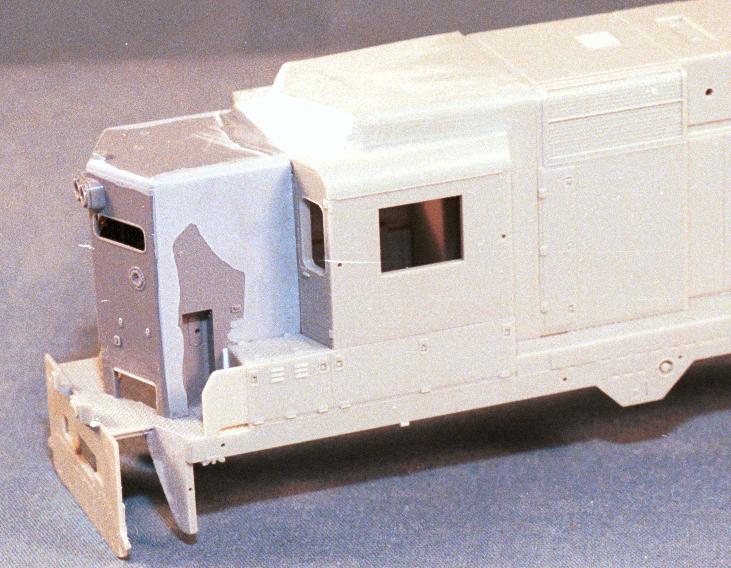
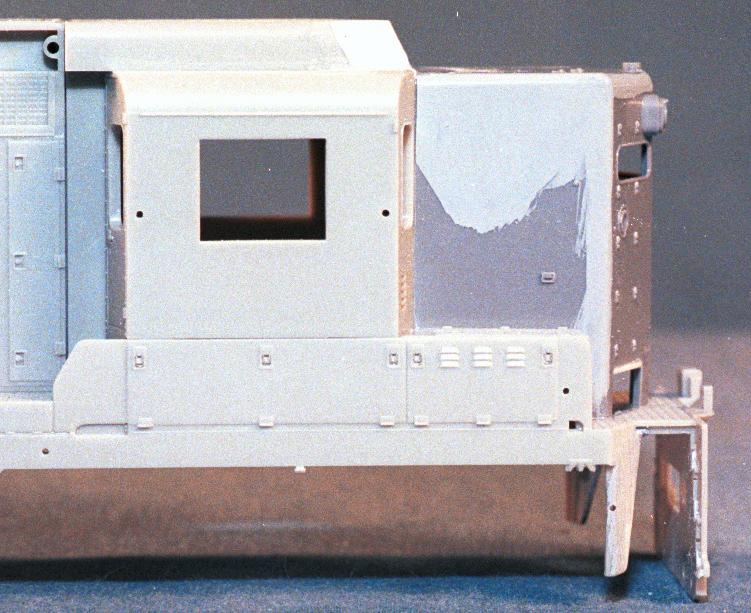
Another angle shows the fit of the nose. I ended up taking quite a bit off the back of the nose walls. You could do this one of two ways - either leave it full length and recess it slightly into the cab, or sand it down to fit exactly against the cab. I chose the latter, which requires more effort to get a perfect fit. The gray primer is Gunze-Sanyo Mr. Surfacer, the king of all primer paints. I just brushed a little of it on to seal the cracks and check my work. Notice once primered the remains of the louver are no longer visible. It gets better. |
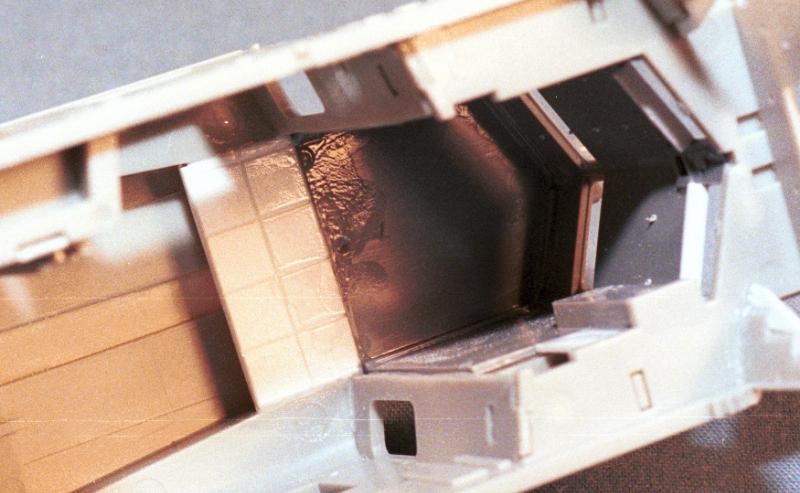 |
Here's a view you don't see too often. This is what the inside of the shell looks like in the nose and cab area. You can see I used my favorite trick, tile styrene, to make the cab roof filler piece, and you can also see it's just a rectangle. I suppose for a fully detailed cab interior, I'd need to open this up under the brow. Yes, the inside of a GP30 cab goes all the way to the top of the blister, giving a nice inside-out view |
 |
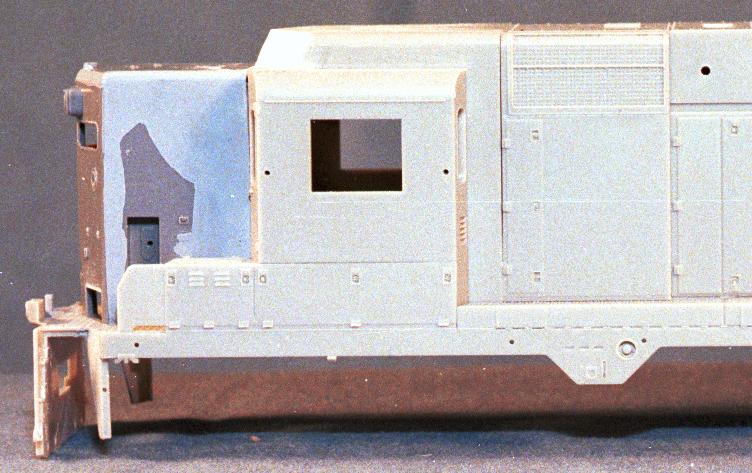
The right side view also shows that the cab has been glued in place, the long hood glued to the walkway, and the battery boxes have been installed. I had to install a small styrene shim on the left side of the nose in front of the battery box because there ended up being a gap between the P2K battery box and the nose wall. This is typical with any Cannon cab installation that does not utilize the Cannon sub-base assembly. |
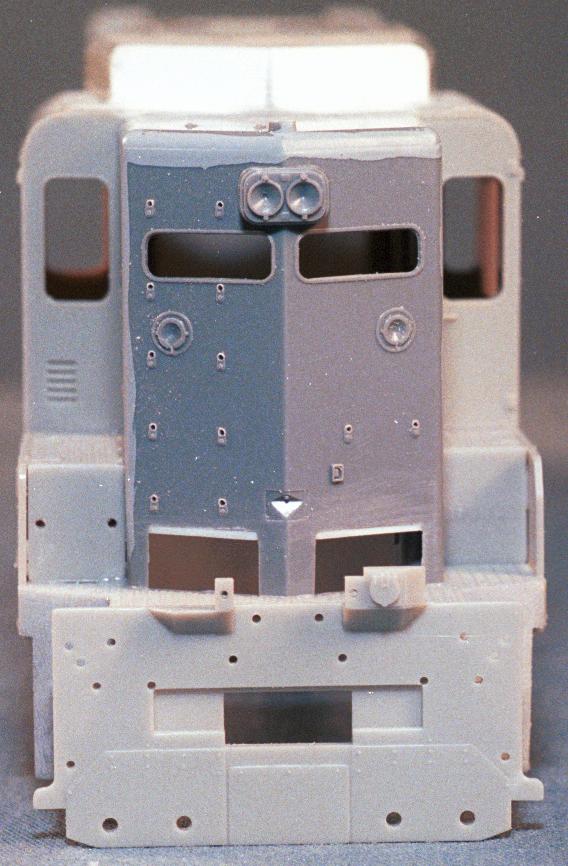 |
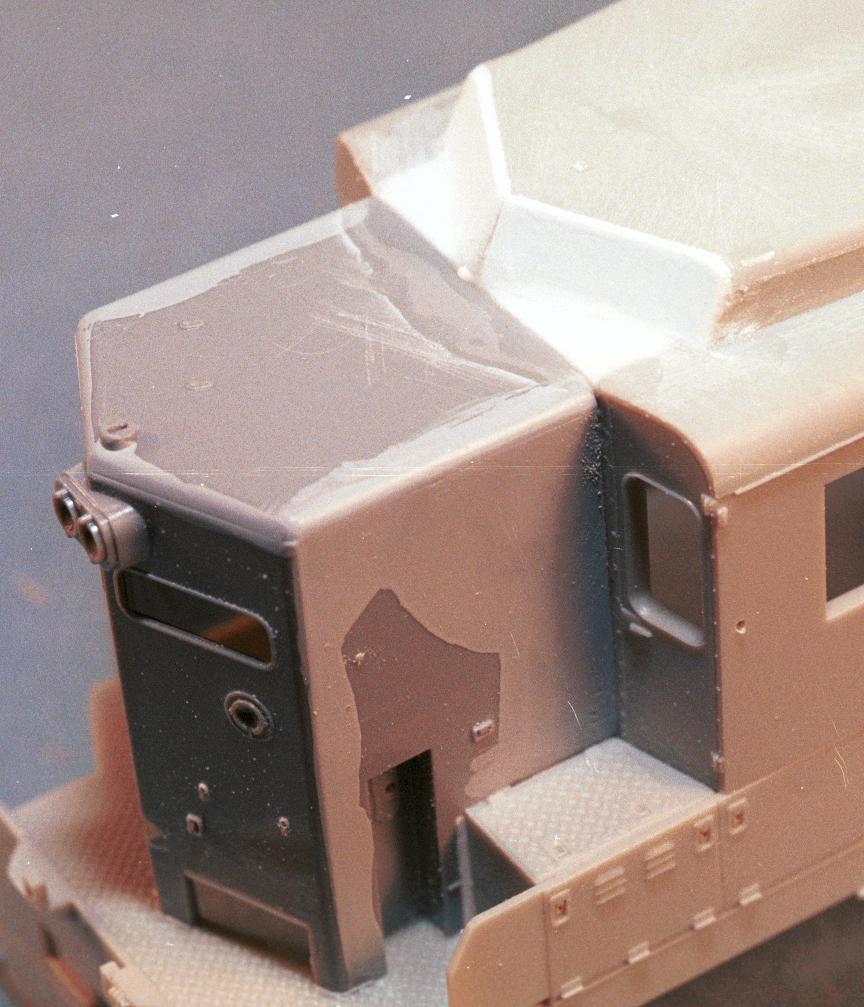
The head-on view shows the GP30's unique high-nose profile, the two-tiered roof and rounded cab corners. I have already added some styrene shims above the sandbox sweep openings. The GP30's sweep doors are distinctly different from the standard 35-series units... they have no hinges, side-mounted latches, and are not as tall. We'll swipe those later on from the Proto 2000's low nose piece, and fit them in below these shims which may need a little more shimming yet. |
 |
The left side photo doesn't look too hot, the white-out effect on the brow makes the modifications there almost invisible. But you can see the nice job Life-Like did on the phase I unit... this is not a kludge from the phase II but it's done right and the smooth area between the cab and the intake is actually part of the cab molding. The battery box is also shorter on the phase I unit. |
 |
Here is what the monster weight looks like on its own. I have always had mixed emotions about these giant weights. While it takes some careful engineering and design to cast a hunk of metal to fill every chunk of unused space under a locomotive shell, almost all of the time I end up needing some of that space back. I'm not from the ultralight school of model operation, so my locos do not have to be maxed out - N&W was a railroad that favored multi-unit operation even on switch runs, so I am rarely going to need extraordinary power from a single unit. This weight is screwed to the frame with four screws, two on the fuel tank sub-chunk, and one hiding under each coupler box. Making the weight a separate part is a Godsend compared to the alternative as practiced by Kato and others. I can to the brutal and messy grinding and hacking on this thing safely away from the rest of the driveline, without having to worry about getting zinc filings jammed into the gears and motor armature. |
 |
Back to the drive unit... all I have done here is mix roughly 50-50 Pollyscale concrete and roof brown, and brush painted the wheel outer surfaces, the visible frame edges, and the telltale Athearnesque rivet plate. I do not keep the plastic "modesty panels" that P2K uses to hide these rivets - they interfere with getting a close fit on the Athearn sideframes. So instead I just paint this plate a weathering color and it dissappears into the shadows on the finished model. I suppose I should test run this drive before getting too much farther along with it, eh? If it runs right, I won't need to disassemble it any further than this. |
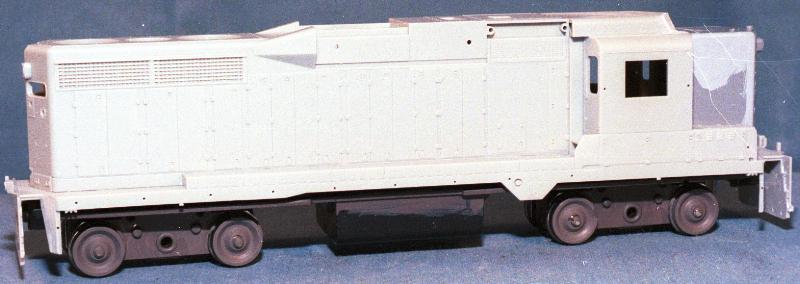 |
Starting to look like a GP30 yet? Don't climb those pilot steps yet, they ain't there! If this were a house, we'd be in the drywall stage... framing and plumbing, but electrical wiring not complete. From here onward, we're going to be mostly adding parts and not grinding stuff off. The model, quite frankly, in its present form looks just kind of like a random hunk of junk. The details make it look good... but the work we've done to this point is what makes it look right, and together the effect is a realistic model. Next... hmmm, gotta finish smoothing out that brow, then it's time to start putting parts on. |